So, as I posted before when we were doing some spring modifications, I noticed that the sink drain line was kinked and has a pin-hole in it. At first it didn't seem so bad, as no RV Antifreeze was on the floor or on the outside of the cabinet, but I did find that it was absorbed into the wood of the upper galley. Not noticeable from the outside or when in position, but still something I have to try and see if I can clean up.
 |
| Kink in flex drain and the RV Antifreeze Stain :-( |
So, Madie and I went around looking for replacement hose today and couldn't find the same stuff or something as flexible as this is at the RV stores. I did get a section of what they recommended, but I'll have to see how that compares when I get to open this up and try to tackle this project. While I was at the RV Store, I did pick up a new Gray Water tank with rubber wheels,... yes, no more straining my back trying to tote ours in and out of the camper at the dump station at the end of the camping weekend. I decided to go with a 11 gallon version, as we only have the sink feeding into it and that will be good for the weekend and extended weekend trips.
 |
| Clyde waiting for me to open the box so he can play in it..... |
Now that I have a proper Gray water tank with a sewer bayonet,... it is time to Modify!
Say goodbye to the garden hose of a drain! Now everything is going to be 1 1/4" diameter all the way to the tank,... combined with the vent,.. the sink is going to go Whooosh! So we bought an extra bayonet fitting and then headed to Lowes Home Improvement store. Back in the plumbing aisle we found a few things, but then we asked for some help to cut a hose we liked and the guy suggested looking at the sump pump parts. Went over there, and wow, lots of parts and a nice hose for cheap!
Parts List:
1 1/4" diameter sump pump hose with press fit ends and hose clamps
1 1/2" threaded fitting to 1 1/2" slip on PVC coupler
1 - Bayonet Sewer Cap
1 - Metal electrical conduit lock washer
1 - PVC Conduit end open end cap
Tools:
Dremel, Utility Knife, Wire Cutter
 |
| Bayonet with 1 1/4" Conduit nut on the inside |
Dremel out the bayonet cap to permit the sump pump fitting to slide in. Add the metal locking washer to the fitting, then silicone the inside and screw on the open end cap. Nice and clean installation for under $6.00 in parts.
 |
| Metal Conduit lock washer on the top, and the rest of the 1 1/4" fitting |
 |
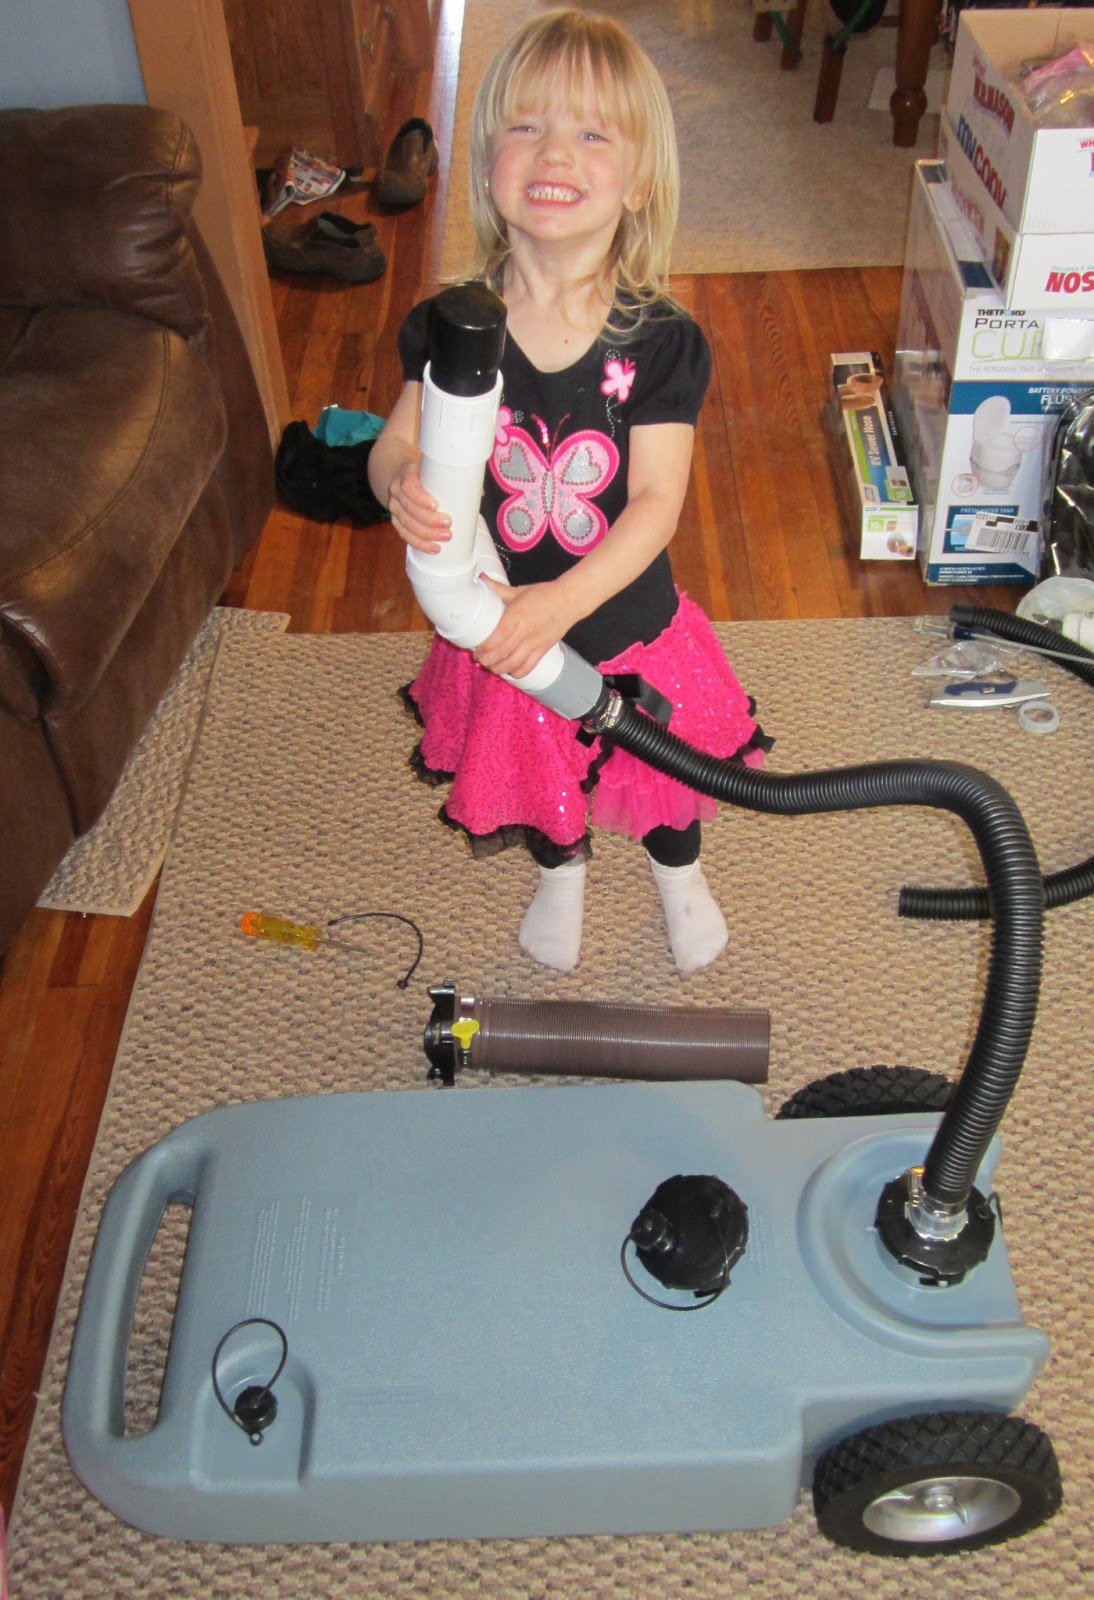
| My helper holding the vented drain we made with the new sump pump hose |
 |
| 1 1/4" line directly connected to the Gray water tank |
 |
| Dump Position, with sewer hose connection, Open the vent, and Dump! |
I bought a 10' section of sewer hose (shortest and cheapest they had) and attached it to the sewer bayonet. It was a tight fit, but after 30-45 seconds of soaking the end of the vinyl sewer hose in hot water, it slipped over the fitting a lot easier. I then cut the 10' section in half with the utility knife and wire cutter. Since it isn't stretched out, it will work well and gives me a nice short section to place into the dump station.
Best part is, I now should have enough sump pump hose to try and fix the sink drain too. The sump pump hose is the proper diameter for the sink and nice and flexible. I think the hose that the RV stores sell is nicer, but does seem stiff. I'll have to check it out and compare with the drain line installed in the camper now.


No comments:
Post a Comment