This post will be in two parts,
Part 1: The flower pot awning leg holder. Yes, another project.
Part 2: A brief review and intro to the
iBall Hitch Camera.
Part 1:
So, the girls pick flowers when we are camping or going on a walk. Where do they end up? On the picnic table to dry and fall apart or inside the camper, which I usually dispose of without them knowing. Then, when playing around the camper they continually hit the awning poles or they spin around them,... not a good thing for the awning poles or Dad's patience.
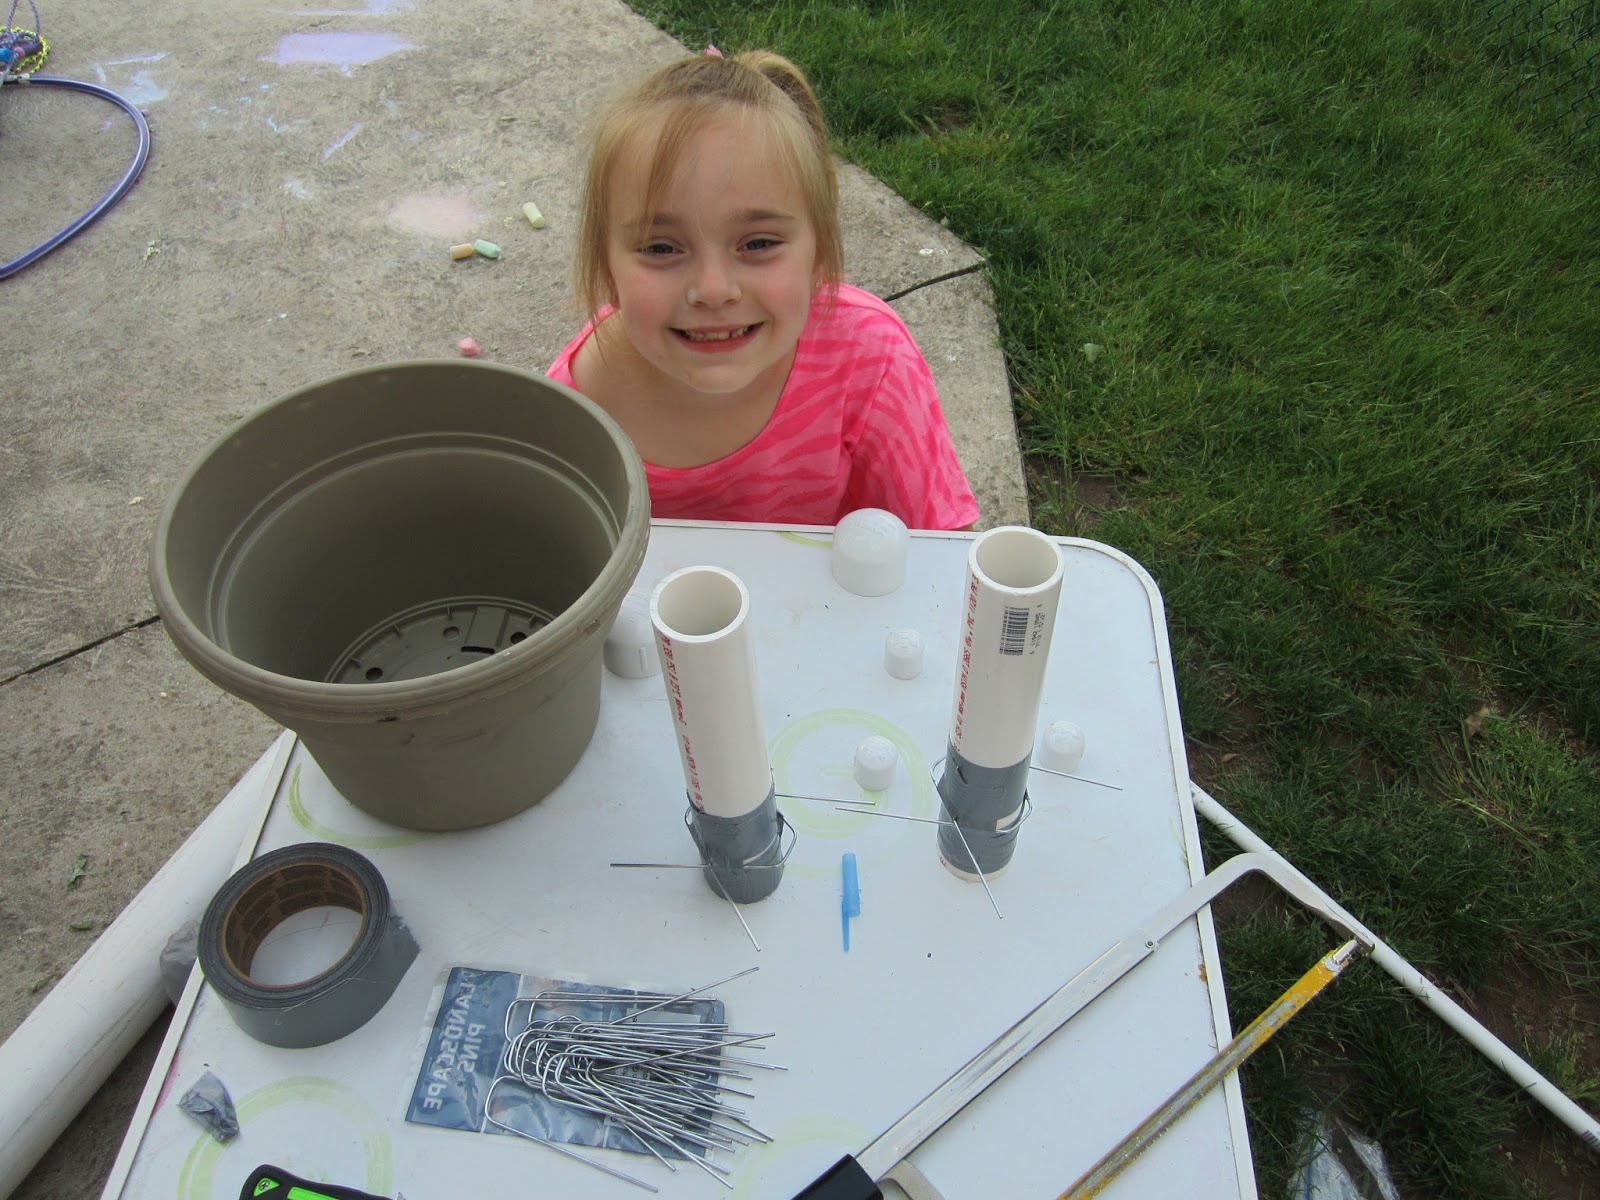
This is one way of trying to solve each of those problems with a creative solution. We scavenged some items from the shelves at Lowes and used some plastic flower pots that my brother had lying around the shop. After some thought, we bent some landscaping wires and placed them thru the bottom of the pot. Duct taped some to the sides of the 1 1/2" diameter PVC tube and interlocked them like rebar inside the pot. Mixed up some concrete and poured it around this contraption and we had a weight for the awning tie downs that the poles can slide into, and something decorative. Oh,.. slip in three 6" long 1/2" diameter PVC sections around this center pole and we have straws for the flowers they pick to be placed into!
 |
| My creative mind helper for this project, Miss Bella |
 |
| That should keep the pipe in the pot,..... |
 |
| Decorating the top with some stone from the flowerbeds |
 |
| Center for Awning pole, three other spots for flowers |
Part 2:
Backing up to hitch the camper by myself isn't all that difficult or bad, and I end up getting centered easily, but then get in and out of the camper 3 to 5 times in order to get under the coupler and aligned to hitch up. Lately for our trips I go over by myself while Becky gets the final things together. Also, when at the campground, I can't see behind the camper when backing in and Becky often disappears from my mirror view as she gives me direction and I have to turn the Van to get the camper in position. Quite often, I stop and wait, just cause I don't know where she is or went. This is my view from the rear view mirror.
 |
| Top of camper and AC unit obstruct seeing using the rear view mirror |
So, one day I came across this little unit. The
iBall hitch camera. There are other brands made by Rear View Safety, and Swift Hitch, but this one seemed to be the best bang for the buck and give us an intro into back up cameras. This one also is the most flexible in placement and range from various reviews found online. Testing it out, the Bluetooth signal that the unit uses reaches from the back of the popup to the van easily with little static. Note, I have no other Bluetooth items active in the car or on our cell phones during use as they would cause interference with this display.
 |
| Camera with base, and 2.5 inch LCD monitor |
The monitor is powered by an adjustable stiff arm that plugs into your 12V power socket. Bright color display, and it even has a rotate button to mirror the camera image, or rotate it 90* each way pending if you have the camera mounted to the side of a vehicle. The camera has a strong magnetic base which allows you to place anywhere, even upside down.
 |
| iBall viewing the hitch ball and beyond with this position |
Problem No.1..... our van has two 12V ports but they are located low down on the center console. Shown here, the monitor is in the lower right of the view, far away from any other visual source in my scan when backing up. Often, my driver window is open to hear Becky and I use the drivers mirror as my primary view. When backing in, we try to stay tight to the one side of the campsite to allow plenty of room in front of the camper door, so the passenger side view is usually clear of obstructions.
 |
| LCD monitor out of normal view, ... not efficient.... |
So, after some thinking, I recalled a RAM GPS mount that I had for my motorcycle before I added the Garmin Zumo to my Nomad. This mount was nearly a perfect fit for the height of the monitor, so after a little dremel action, I have the backing removed enough to allow the power plug to pass thru and fit, and the left side removed to allow the monitor to clamp into position. Genius!
 |
| Modified RAM Mount |
 |
| iBall monitor suctioned to the front left of the windshield, right in view |
So, now I have a quick glance between the mirror and the camera for backing up into position. Here was a quick test. First, the camera is mounted to the back of the lift gate as shown above as if I was arriving to hitch the camper myself. I was able to backup and get over the ball easily on the second attempt, but, I never got out of the car!
 |
| View from the hitch cam position |
Then, moving the camera up I can see around the camper easily. This may be the better position when backing into a site. I can see obstructions as well as Becky if I can't see her in my mirror anymore. Distance is hard to judge, but that is why she is back there to get me in and not hit anything.
 |
| Top of Van View |
This weekend will be the first try at a campsite, but with these primative tests, I am pleased so far. I'm sure I'll find some good uses for it and locations as we use it more. Nice part is, just turn it off, and it all fits cleanly in the glove box for storage.